Powered By Blogger

Sunday 11 November 2012

Easy Lentil Bake

Lentils are a very nutritious and grow in pods like other legumes. Lentils are grown widely throughout the Meditteranean and can be red, green, brown or black. The plants frow to about 33cm high and are relatively drought tolerant. Lentil bake is easy to make, very delicious and very rich in protein which accounts for about 30% of their weight  Also rich in iron, zinc, folate and thiamine.

Ingredients:

1.   250g red lentils
2.   2 medium sized onions chopped finely
3.   2 garlic cloves crushed and chopped
4.   2 courgettes sliced thinly
5.   Olive oil for frying vegetables.
6.   Salt and pepper to taste
7.   2 teaspoons of basil
8.   2 eggs beaten
9.   125g of rolled oats
10. 80g of grated hellim or halloumi
11. 1 thinly sliced tomato

Method:

1. Cover lentils with water, bring to the boil and simmer for 15 minutes
2. Heat olive oil and cook onions, garlic and courgettes until softened.
3. Add salt, pepper and basil to vegetables.
4. Drain any surplus liquid from lentils and stir into vegetables.
5. Stir in oats, beaten eggs and 3/4 of the grated hellim/halloumi
6. Place mixture into and ovenproof dish
7. Sprinkle with the remaining hellim and decorate with sliced tomatoes.
8. Cook in a pre-heated oven at 190c for 30minutes.

Serve with potato wedges and a green salad.

Tuesday 25 September 2012

Vegetable seeds


I’ve been looking for a site to purchase some vegetable and herb seeds. I have found one site that offers a wide range of seeds and includes organic seeds. The site also has lots of useful information on companion planting and germination rates. Follow the link to judge for yourself.

VegetableSeeds.net offers great value and has over 400 varieties available.

Shipping to UK addresses is free for orders over £10 and European orders are charged £3 for postage and packaging.


Sunday 1 July 2012

Make your own easy tomato puree

Why not use some of your tomato crop to make your own tomato puree. Puree is a thick, deep red concentrated tomato paste which has been made for generations in Cyprus. The traditional method involved skinning, grating, sieving to remove the seeds and then boiling to reduce the water content until a thick puree was obtained. And, In the days before freezers, the puree was stored in large pots which were covered with a thick layer of olive oil which prevented air from having contact with the food and spoiling it.

The process is much easier now and by using a food processor you don't have to skin the tomatoes and the seeds are pulverized to such an extent that they are not really noticeable in your puree.

Simply thoroughly wash your tomatoes, cut out any bruises or blemishes. quarter and blend in the food processor. Then bring to the boil in a large pan, only partially covered, and simmer for 3-4 hours, whilst stirring occasionally and then more often as it thickens.

Once cooled store in an airtight container in the fridge for up to a week or freeze in useful batch sizes for up to a year.

So many recipes include tomato puree and you will notice the superior flavour of your homemade puree whether used on a pizza, with pasta dishes or to add a rich colour an flavour to soups and stews.

Saturday 30 June 2012

Make your own tomato juice

Tomatoes are now in full production and if you have a glut there are a number of ways to preserve your crop. One way to do so is to make your own refreshing and healthy tomato juice and freeze it. Your juice can be defrosted for drinking or used in cooking.

If you have made your own tomato juice before you will be surprised that the colour is not as red as commercial juice. To redden your juice you can add a cooked beetroot for every 3kg of tomatoes.

Thoroughly wash your ripe tomatoes, cut out any bruises or blemishes, quarter and cook for about 20 minutes in a pan to which 1 cup of water and the finely cut beetroot has been added. Whilst cooking, use a masher to squash the tomatoes. Salting is not a requirement and is entirely dependent on your taste buds.

Once cooled, strain the tomatoes through a cheesecloth or fine mesh to remove all the seeds and pulp from the juice and then squeeze the pulp to ensure all the juice is extracted. Freeze the juice in sterilised containers, leaving enough room for expansion. Or alternatively, freeze into ice cubes to use for cooking. And don't discard the pulp, if you don't want to use it immediately you can freeze it and use it to add to soups or stews.

For a variation to your juice, you can add onions, carrots or celery during the cooking stage.

Friday 29 June 2012

Vegetables to grow in part shaded areas

It's a common mistaken belief that all vegetables need full sun to grow. Although this is true for vegetables such as tomatoes, peppers and marrows, there are others where partially shaded areas will still produce a good crop. Partially shaded areas are those which still enjoy about 4-6 hours of daily sunlight. Thses can be areas under trees or shaded by buildings, walls or fences. As an added benefit vegetables grown in partially shaded areas will not need as much water.

As a basic rule, plants grown for the fruit or roots need full sun but those grown for buds, leaves, or stems are suitable for partially shaded areas.

The following crops will happily grow in partially shaded areas:

1.   All types of salad crops
2.   Broccoli
3.   Cauliflower
4.   Peas
5.   Brussels Sprouts
6.   Radishes
7.   Swiss Chard
8.   Spinach
9.   Beans
10. Kohl Rabi

Knowing these crops will succeed in shaded areas will allow you to better plan your garden to grow the maximum amount of produce.

Thursday 28 June 2012

Make your own marrow and ginger jam

The number of marrows this year has been plentiful and we use them by including marrow or courgettes in lots of recipes but our favourite remains stuffed marrow. If you have a glut of marrows, one useful way to continue enjoying your marrows after their season ends is to make your own marrow and ginger jam.

The basics of jam making can be found at http://cyprusgardener.blogspot.co.uk/2011/07/how-to-make-your-own-jam-basics.html

Ingredients:

3kg of marrow (peeled, de-seeded and diced); 2.75kg of sugar with added pectin (or simply add a finely chopped apple for pectin or use homemade pectin - a recipe for which can be found at http://cyprusgardener.blogspot.co.uk/2011/06/making-your-own-apple-pectin.html -; the juice and zest of 4 lemons and 5tsp of dried ginger.

Method:

1. Place the diced marrow in a bowl, stir in the sugar, cover and leave overnight in the fridge. This permits some of the water from the marrow to be released.
2. Pour the marrow, add the lemon juice and zest and ginger into a preserving pan and heat to boil, whilst stirring, Continue boiling until setting point is reached.
3. Pour into sterilised jars and tighten lids. Once cooled store in a dark cool place and your jam will keep until your next crop of marrows are ready.

Wednesday 27 June 2012

10 Home remedies for bee stings

A bee sting can be very painful but here are 10 home remedies to relieve the pain relief. Before applying a home remedy it's important to remove the stinger, which can be seen as a black spot, do this quickly as you can reduce the amount of venom released into the area. The best way of removing the stinger is by using tweezers to pull it out. Then thoroughly wash the stung area with soap and warm water before trying one of the following remedies to relieve the pain.

1.   Sprinkle the area with baking powder and then spray with vinegar.
2.   Cover the area with honey.
3.   Apply ice to the area.
4.   Crush parsley and basil and apply to the area.
5.   Squeeze an aloe vera leaf and apply the liquid to the area.
6.   Cover the area with mustard.
7.   Rub the area with apple vinegar.
8.   Apply toothpaste.
9.   Rub mud into the affected area
10. Cut an onion and rub into the affected area.

10 gardening uses for homemade vinegar

The vinegar making process is started by washing either grapes or apples and then extracting their juice. After measuring the volume of juice, strain your juice into a sterilised container, add brewing yeast, sufficient for the volume of juice used and insert an airlock.
The juice is left  to ferment and turn the fruit sugar into alcohol. Once fermentation is completed, expose the liquid to the air which will permit acid making bacteria to convert the alcohol to vinegar. This process can be speeded by adding half a cup of organic vinegar to the liquid.


Whilst the process is taking place a cheesecloth over the container to keep out insects or dirt. The liquid needs to be kept at between 15c and 25c and stirred daily during fermentation which takes between 3-4 weeks.


Your vinegar is ready when it smells and taste like vinegar. Once fermentation is complete, strain the liquid through a cheesecloth several times to remove any remaining yeast  and stop the fermentation process. To permit long term storage your vinegar must be pasteurised by heating to 75c, use a cooking thermometer to determine the temperature, for about 10 minutes.  Pour your vinegar whilst still hot into sterilised glass bottles and store out of direct sunlight in a cool area. 


If your vinegar tastes too strong it can be diluted with water.


Once you have a batch of vinegar the number of uses are many. Listed are ten of our gardening favourites.


1.  Use full strength vinegar to kill weeds and grass on paths and other hard to reach areas.
2.  Deter ants by spaying vinegar on their trails or ant hills.
3.  Soothe bee or other bites by rubbing vinegar on affected areas.
4.  Cleans any bugs off of freshly picked vegetables by adding vinegar and salt to a bowl of water.
5.  Use diluted vinegar to clean glass.
6.  Get rid of any rust on garden tools by soaking overnight in vinegar.
7.  Remove any vegetable or fruit stains on your hands by rubbing with vinegar
8.  Drown fruit flies by placing a cup of vinegar in a jar (see image) and add a couple of drops of washing-up liquid.
9.  Kill snails squirting with a solution of half vinegar and half water.
10. Make your own organic weedkiller http://cyprusgardener.blogspot.co.uk/2012/01/make-your-own-organic-weedkiller.html

Sunday 24 June 2012

Make your own sun dried tomatoes

With tomato plants now producing lovely ripened tomatoes daily and the sun shining strongly, there is no better time to make your own sun dried tomatoes. Sun dried tomatoes can be used in many recipes and add a lovely flavour to salads, soups and stews.

Sun drying will remove between 80% to 90% of the tomatoes moisture content but they still retain their many nutritional benefits.Smaller tomatoes, or even cherry tomatoes, which are ripe but still firm are the best varieties for drying. It will take about 11kg of tomatoes to produce 1kg of sun dried tomatoes.

For every 2kg of tomatoes you will need just under one cup of coarse salt. Wash the tomatoes thoroughly,  cut them in half and place the tomatoes, cut side upwards, on a tray. Sprinkle the tomatoes with salt and place in full sun covered with netting to deter insects from helping themselves to a meal.

Bring the tomatoes in after sunset and your tomatoes will need between 15-20 days of sun drying to thoroughly dry. Once fully dried, place the sun dried tomatoes in a sterilised jar and cover with olive oil and, if you want to add even more flavour, include basil or oregano with the oil. Keep you jar in the fridge and they will keep for a very long time. Alternatively, you can freeze your sun dried tomatoes in a freezer bag and they will keep for 6-9 months.

Friday 22 June 2012

Make your own orange cordial

We drink a lot of water but in hot summer months but a glass of cordial with plenty of ice works wonders in quenching your thirst.

Just reading the labels of a commercially produced cordials gave us the desire to make our own. Homemade cordial is a much healthier alternative and you avoid added preservatives and artificial colourings. Homemade cordial also allows you to control the sugar level to the desired sweetness or tartness required and you can actually taste the fruit.

The following recipe is for orange cordial but you can use any fruit or mixtures of fruits you desire. Try orange and lemon which produces a lovely taste.

1. Squeeze enough oranges to provide one litre of juice.
2. Finely grate the zest of two oranges.
3. Add 1kg of sugar to 1 litre of water and bring to the boil whilst stirring till all the sugar is dissolved.
4. Mix the juice and zest into the sugar syrup.

Once fully cooled it will keep in the fridge for a month, if it lasts that long.

If you have a glut of any particular fruit  your homemade cordial can be frozen.

Friday 1 June 2012

How to grow and 7 uses for ginger


We purchased some ginger rhizomes, which are the part of the plant that is eaten, when we were last in the UK. They were planted out in early Spring and are now thriving.

Ginger is a tropical plant where it can be left outside all year round but in Cyprus it will require replanting annually but even cooler climates it can be grown in large pots under heat, as it requires a temperature of 30c or over whilst growing.

We planted the rhizomes under an olive tree at 20cm apart, as ginger prefers filtered sunlight. We added well rotted compost before planting, as the plants enjoy a rich soil, and we ensure the plants are moist but never waterlogged. A weekly watering, with a good layer of mulch to preserve the moisture, is usually recommended.

The plants will grow for 8-10 months before they start dying down and turning brown which is the stage to harvest your ginger. The rhizomes are broken-up, cleaned and dried for storage but keep some with growing buds to re-plant when the danger of frost has passed in early-spring.

The uses for ginger are many and varied, here are just a few.

1. Make ginger tea which is said to be good for digestive problems, colds and headaches.
2. Use in numerous recipes and for baking - especially for my favorite ginger biscuits.
3. Make your own pickled ginger.
4. Dry and powdered it can be used in baking or to make ginger ale.
5. Make your own candied ginger.
6. Make your own ginger jam.
7. Make your own ginger juice.

Building a wood fired earth oven

We started construction of a wood fired oven by building a square dry wall base up to waist height to make using the oven easier. The stones had to be transported by wheelbarrow about 100m and it took quite a few trips to get enough stone and quite some time to select stones with a flat enough sides to use.. The top layer was leveled off by using a spirit level placed across each wall on a long beam and although it's not perfectly level - it's pretty level.

The next step was to fill the center with more stone (thankfully of any shape or size) and any other. Once the center was filled to within 25cm from the top, the next layer was added which was mixture of straw and soil, mixed to a mud, to provide an insulation layer. Small stones were used to fill in any gaps in the walls and finally thick stone tiles were placed into the center to provide the oven floor. The gap between the oven floor and wall edges were filled to the same level as the oven base with a mud mixture.

The next stage was undertaken in the Spring which allowed time for settling and when it was warm enough to start building the earth oven, allowing the mud mixture to dry well..

Wood fired ovens (fourno's or firin's) are seen throughout Cyprus and have been used for many centuries. They are fired-up traditionally using olive and carob wood and once white hot the ashes and charcoal are swept to the edges of the oven. Once up to temperature the oven is ready to use for the next four to ten hours. Traditionally used to bake bread or kleftico (translated as stolen meat) which is a lamb which has been basted in olive oil and oregano and then cooked with garlic, onions and new potatoes. A wood fired oven reaches 370c and this high temperature when baking bread causes dough to rise very rapidly producing a wonderfully thick crust but at the same time trapping air bubbles inside to produce a light and very airy bread. And the even heat is ideal for cooking kleftico and other casseroles or to provide fast pizza.
We finished the project in March 2012 and baked bread successfully. What follows is a step by step guide on how we built our earth oven.

Step 1 - Planning - deciding on the size of the earth oven. How big you build your oven is dependent on how often you are going to use it and what you are going to use it for.  If it's for a occasional pizza it doesn't have to be that big but we wanted an oven large enough to make four loaves of bread.  An oven's size is ultimately determined by the width and length of the base floor you build. Our base is 1m deep and 1.15m wide. 

Our oven wall was built in three layers and is about 18.5 cm thick. This left the oven with an interior width of 68cm and a depth of 53cm and we decided on an internal height of 50cm for the oven.  Apparently, for airflow purposes, the ideal height of an oven door should be 63% of the internal height of the oven and the door width of between one third and a half of the ovens internal diameter.  So our oven door is 30.5cm tall and 34cm wide.  Our oven internally is large enough to fit four loaves of bread comfortably.

Step 2 - Mould - We made a mould using two and a half wheelbarrow loads of wet sand to the height and width of the interior of the oven and this was extracted after the oven walls had completely dried.  A length of bamboo was used to provide a guide for the height. The mould once competed was covered with layers of wet newspaper to keep the sand moist and to mark the beginning of the mud layer. This proved valuable when we dug out the mould. We made a template for the door which was also as wide as the wall, to avoid having to cut out an opening afterwards. This mould stage was completed on Tuesday 20th March 2012

Step 3 - Construction of the walls - we constructed the oven wall in three layers and each layer was allowed to dry before the next layer was added. Drying time is important as it decreases the likelihood of cracking.  We used a mixture of 50% sand and 50% soil but included straw, which acts as an insulator, in the second layer. The soil was dug out after removing 40cm of the top-soil to access the more clayey sub-soil.  The sand and soil were thoroughly mixed before adding sufficient water to make the mixture workable but not too sloppy. Handfuls of mixture were worked into a ball before applying to the mould and worked in to ensure there was no gaps between each handful applied.     

The first layer - which is called the thermal layer was 8cm thick.  It took us two hours to complete on Wednesday 21st March and we allowed this layer to dry for three days. 

The second layer - the insulation layer of soil sand and as much straw as we could mix in was completed in two stages each 4 cm  thick.  It took two and half hours to finish on Saturday 24th March and this layer was allowed to dry for a week.

The third layer  - known as the finishing layer was 2.5 cm thick and was completed on Saturday 31st March and took one and half hours.

Step 4 - Removing the mould -  The earth oven was allowed to dry for a further week which was hot and sunny before on the 1st April the door template was removed and the mould dug out.  This allowed air to circulate and speed up the drying process.

Step 5 -  Finishing touches - Some surface cracking appeared so we made up some mud mixture to fill the cracks  and also to build a rim for the door. We also used the door template to cut out a metal door and attached a wooden handle.  The inside of the door will be covered with foil when the oven is in use to reflect the heat.

Step 6 - Drying - On Saturday 7th April we lit a series of three small fires to complete the drying and ensure no further cracking appeared.

Step 7 - Test run - On Sunday 8th April we lit a large fire and kept adding wood to permit the fire to burn for two hours. We then removed the ashes and mopped out the oven floor before we baked four loafs of bread which took about 30 minutes. After the bread was baked, we baked some ginger biscuits in around 10 minutes and cooked a chicken casserole which was left in the oven for quite a few hours.

Thursday 31 May 2012

How to plan a herb garden


A herb garden will provide you with fresh herbs for culinary or medicinal purposes all year round. But if you do not want, or do not have sufficient space, for a herb garden you can grow herbs in containers or in existing vegetable or flower beds.

If you have sufficient space, here are some ideas on how to create a  practical herb garden. Start with a sunny but sheltered spot which is preferably near the kitchen, so that when cooking you can easily pick herbs to use fresh out of the garden. 

Many herbs originate from the Mediterranean area and will do well in rocky, relatively dry soil, remember that they evolved in conditions of good drainage. This means that they do need some water, but the soil should be moist not wet. So while soil preparation is minimal it is not non-existent, a mix of sandy loam and clay or a good compost will support a good range of herbs, but it must be well drained.

Designing yourself a herb garden is a simple task. Start by measuring the space available and making different plans of assorted shapes until you have a few good ideas to work with. Simple forms such as square, triangles, circles or half-circles are a great way to begin a structure to plant your herbs. The design options are entirely up to you, draw a plan of the space available and get designing but take into consideration the number of herbs and relative size of the herbs you want to grow and their accessibility. You might also want to incorporate paths which can be paved with bricks, stones or even old wood to make access easier and add some charm to your herb bed.

Obviously the choice of herbs depends on your personal tastes, whether you want them for cooking, cosmetics, fragrance or medicinal purposes, but these are our favourites (in no particular order): 

Annuals - parsley, coriander, basil, aniseed, rocket and summer purslane.

Perennials - bay, rosemary, mint, sage, oregano, thyme, lavender, chamomile, chives and fennel

For detailed advice on how to grow and care for the herbs of your choice go to http://sites.google.com/site/cyprusgardener/home/herbs

If the herbs you want to grow are annual and you want to grow a large quantity to harvest and dry at the end of the season then you can make additional plantings anywhere in the garden. In fact, these can be incorporated into your vegetable beds, as herbs such as basil, coriander and dill, will attract beneficial insects which can help with pest control.

Culinary herbs, that are perennial, might not take as much space since you cut only what you need and a few plants should be enough to see you through the season and can be placed in a more permanent bed. Use the space you have available to grow the herbs you find most useful. Another consideration is if you are growing certain herbs for pot pourri or dyes, you will need a much larger space. 

It's important to plan the distribution of you herbs from the beginning. When growing, various herbs will take different forms. Some herbs grows thick but short in height while others are long and lean. Certain herbs have the tendency to grow and crawl about and can even behave like vines. This unstructured mixture can seem totally out of control especially during their peak season of May through June. 

Ten uses for the herb rosemary

We have some well established rosemary bushes growing but we are not using as much as we should. So we thought it would be useful to make a list of its many uses. A list which will remind us what we should be using our rosemary for.

1.   Make a rosemary mouthwash - http://cyprusgardener.blogspot.com/2011/09/make-your-own-herbal-mouthwash.html

2.   Use a disinfectant - simmer leaves and stems of rosemary, sage and lavender in just sufficient water to cover for 25 minutes. Once cool, strain, bottle and use to wipe over sinks, toilets and baths to provide a fresh scent.

3.   Make flavoured oil or vinegar, infuse rosemary in a bottle of olive oil or vinegar, for 6-8 weeks, to flavour .

4.   Add rosemary flowers to sorbets or dressings to add a mild rosemary flavour.

5.   Make rosemary tea which is said to be good for digestive problems.

6.   Soak and use tougher stems for BBQ skewers

7  . Make an infusion with two tablespoons of dried rosemary added to one cup of boiling water. Leave for      ten minutes and use as a hair tonic, after shampooing, to help treat dandruff.

8.   Add to roasting vegetables, rice, pizzas, fish, lamb, chicken and when baking bread.

9.   Add to a hot bath to aid aches and muscle fatigue.

10. Add to soups and stews.

Tuesday 29 May 2012

Make Your Own Mulberry Jam

A jam to make when mulberries are season, which is from May to June in Cyprus and is delicious mixed in porridge on a cold winters day.

Ingredients needed are: 2.75kg of either white, red or a mixture of mulberries; 1 green apple or home made pectin, 100ml of water; 50ml of freshly squeezed lemon juice and 1.4kg of sugar

If you would like to make your own apple pectin use the following link - (http://cyprusgardener.blogspot.com/2011/06/making-your-own-apple-pectin.html)

Wash the mulberries, chop the apple very finely (the apple is not needed if you are using your own homemade pectin). Place the mulberries and chopped apple in a large bottomed pan and add the water, lemon juice and half the sugar. Gradually heat whilst stirring continuously until the mixture releases sufficient liquid and the sugar dissolves. 

Turn up the heat, add the remaining sugar, and continue stirring until the mixture boils. Boil hard for at least 15-20 minutes and check for setting by placing a small amount of jam on a cold saucer and after a minute check to see if a skin has formed. Continue boiling and checking until a skin forms on the tested jam.

Once a skin is apparent, turn off the heat and pour the jam into cleaned and sterilised jars. Once cooled, keep in a cool and dark place and your mulberry jam will keep until mulberries are ready again the following year to make another batch.

Mulberry Bush Fruit

Mulberries are now in season and we have recently tasted both white and red. White mulberries are very sweet and have a honeyish taste whilst the red are less sweet and taste something between a raspberry and blackberry. Once picked the fruit does not keep very well and is best used within a couple of days.

We have planted two mulberries which have yet to fruit. One was a very small tree which was growing in the same pot as a purchased plum tree. After three years it has reached a good size and will hopefully fruit next year. The other was dug up from a stream bed and it larger but to our disappointment we now suspect it's a male tree which will never fruit. We are considering whether to graft a female onto it or dig it up and replace with a fruiting mulberry.

Mulberries are quite drought tolerant, will grow in most soils and enjoy a position with full sun. Other than providing some fertilizer during the winter and mulching in the spring, mulberries require very little care and are not bothered by many pests or diseases. Pruning is only required to retain a desired shape and to remove any damaged wood and this should be carried out in mid-winter.

Mulberry fruit not only tastes good, it's nutritionally an excellent source of vitamins and minerals and is also useful for baking, juicing and makes a lovely jam. Mulberries can be sun dried and used instead of raisins when baking muffins or cakes.

Saturday 26 May 2012

Herb Garden

Just spent two days re-edging the herb garden beds. The winter and spring rains washed away the edging and compacted the soil which needed breaking-up. Establishing plants has been slow with some adapting quickly to the soil and climate and others dying after one hot summer.

Looking back at our original plan we had listed 50 herbs to grow but have so far managed to establish around 20 but we are adding more every year and are on the lookout for varieties suitable to the Mediterranean climate.

We plant some annual herbs monthly to ensure a continual supply of coriander, parsley and rocket. The basil is started early in the propagator and we plant plenty to permit us to dry enough to keep us going until the next planting.

Perennial herbs which have done well include chamomile, chives, comfrey, fennel, garlic (we use the tops and allow the bulbs to re-germinate every year), lavender, various mints, oregano, rosemary, sage and.lemon balm. And our bay tree is now getting to a decent enough height where we no longer feel guilty removing a few leaves.

We have self-seeding marigold, linseed, poppies and dill. To fill gaps we sow sunflowers and have two large areas of Jerusalem artichokes which, if we can as they are notoriously difficult to clear completely, we will re-locate when other herbs are available to fill the space.

Friday 25 May 2012

Cypriot Koulouri or circular sesame seeded bread

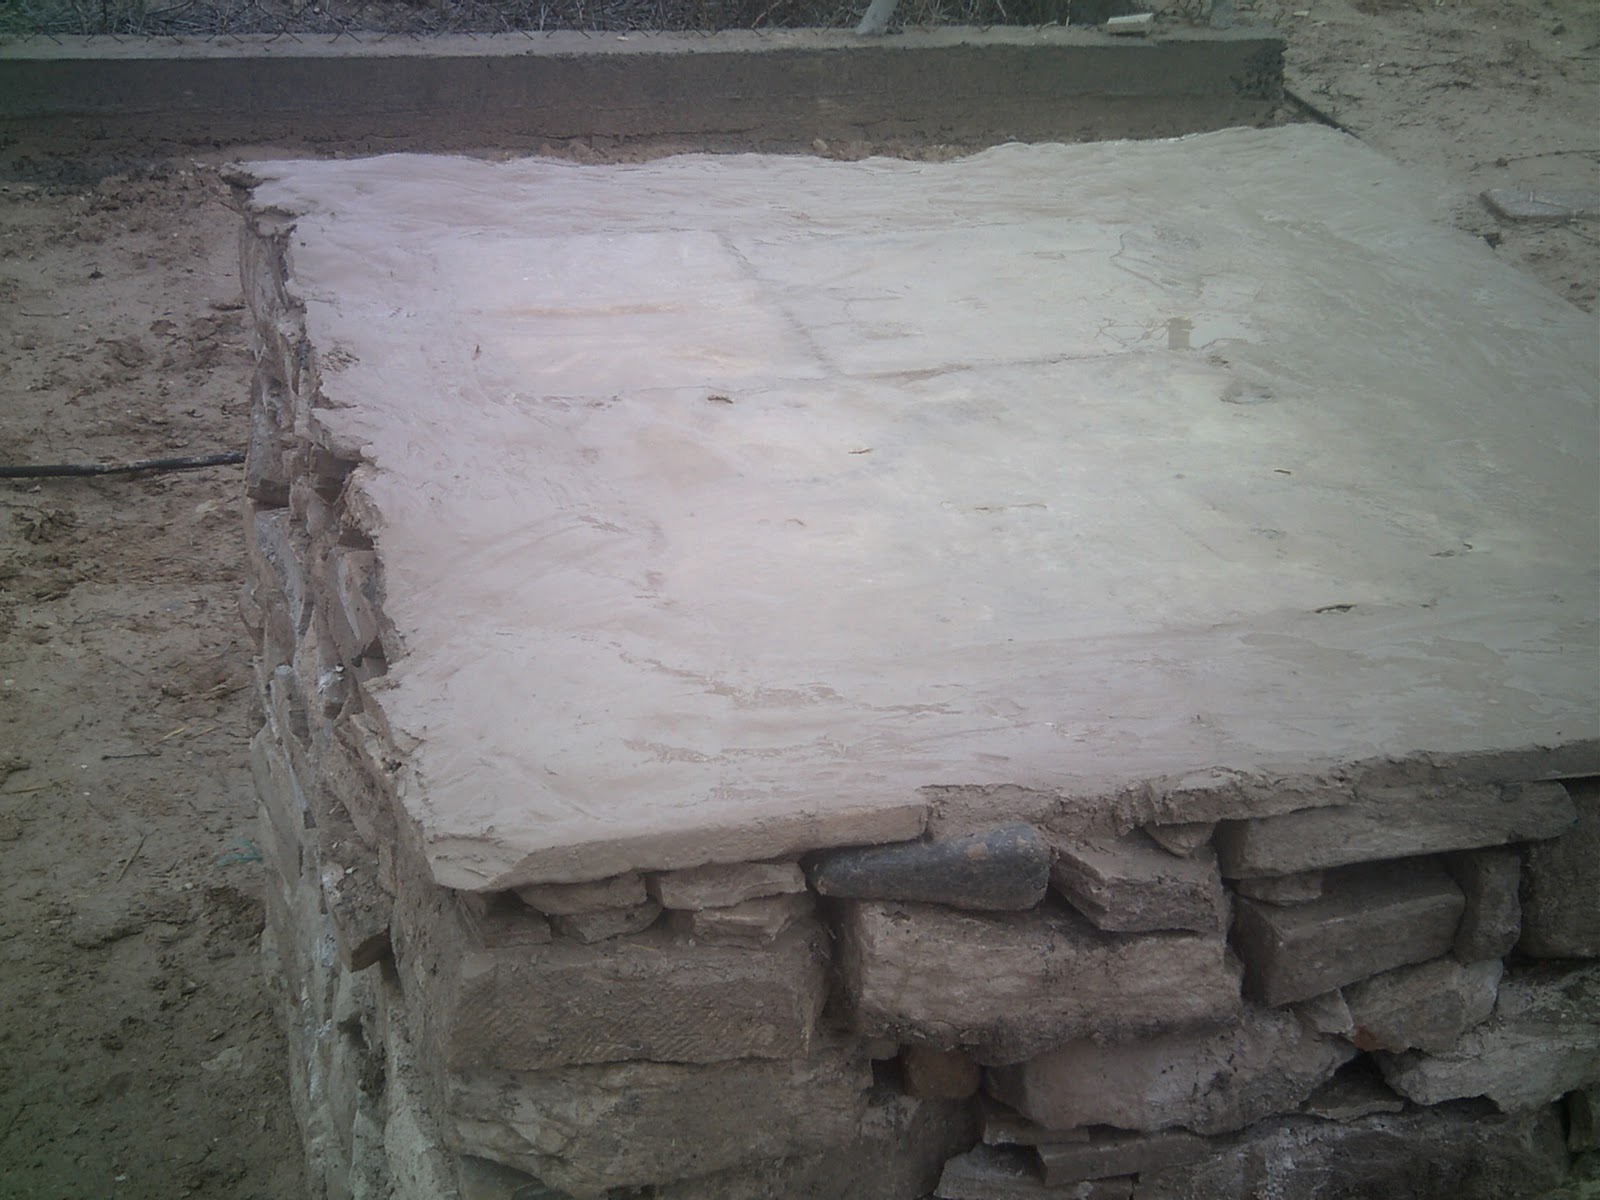
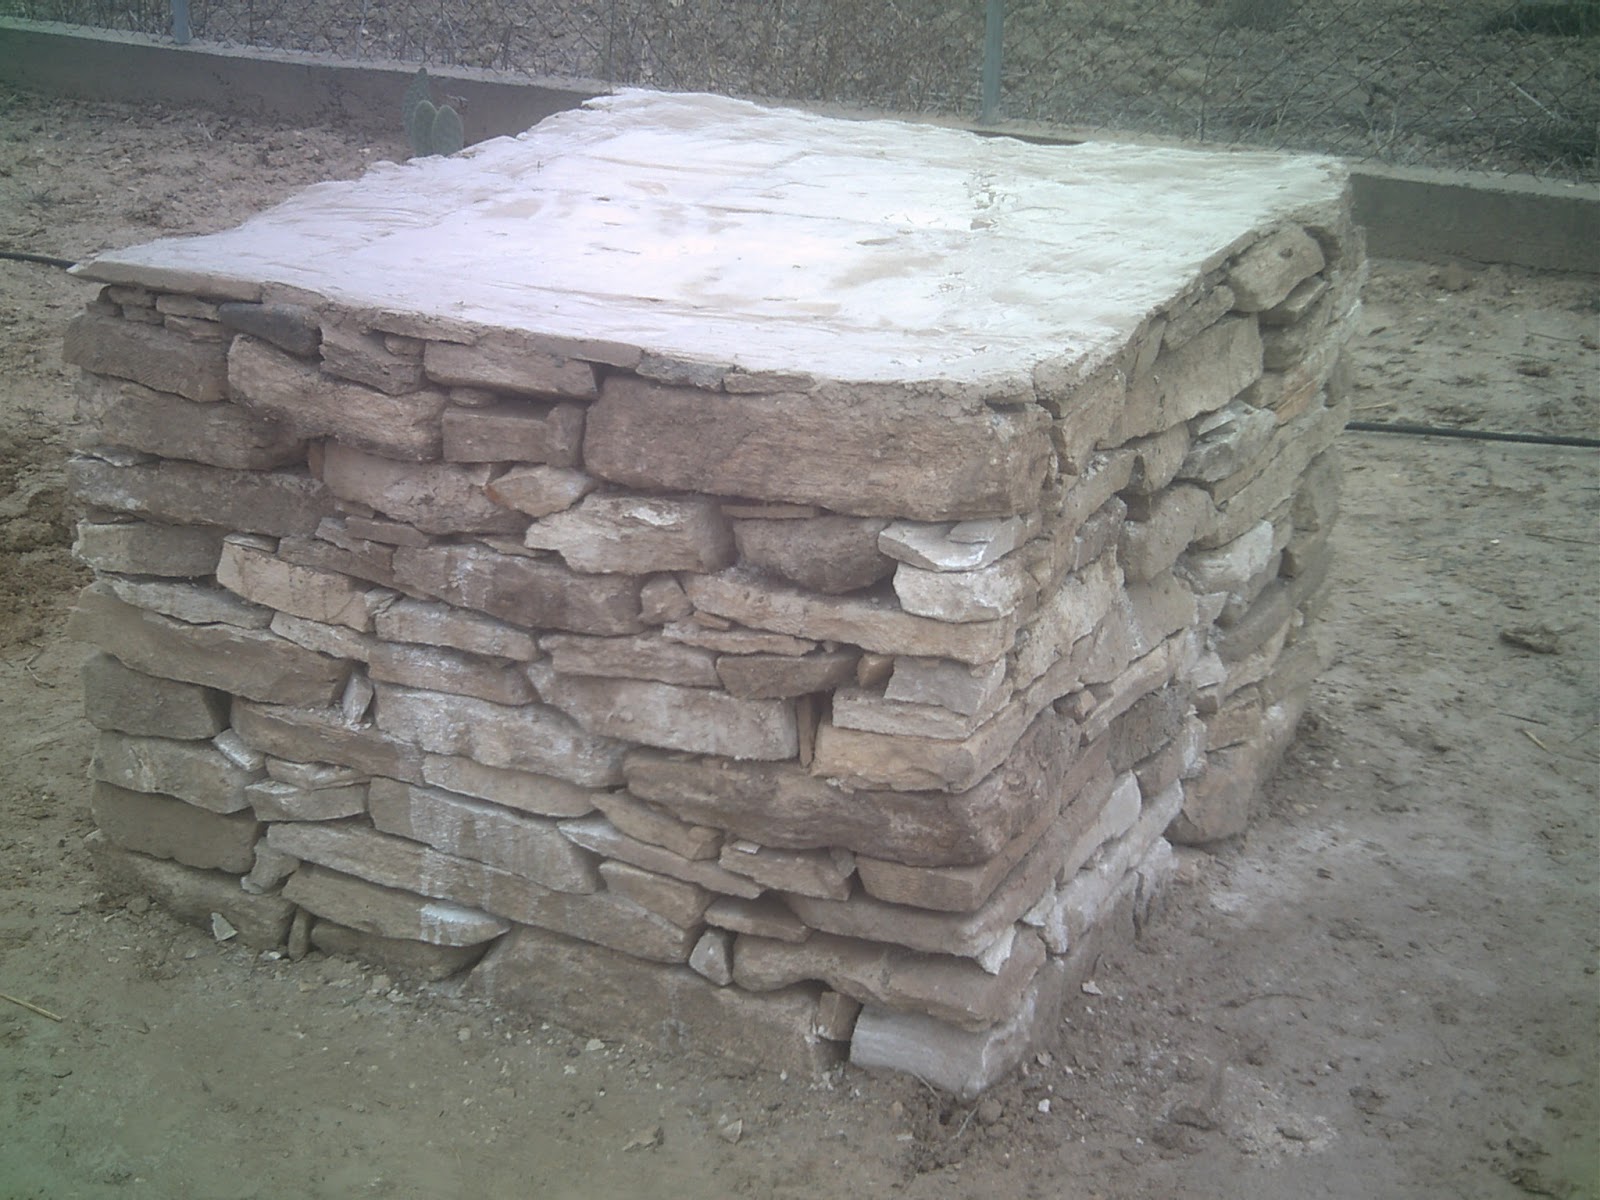
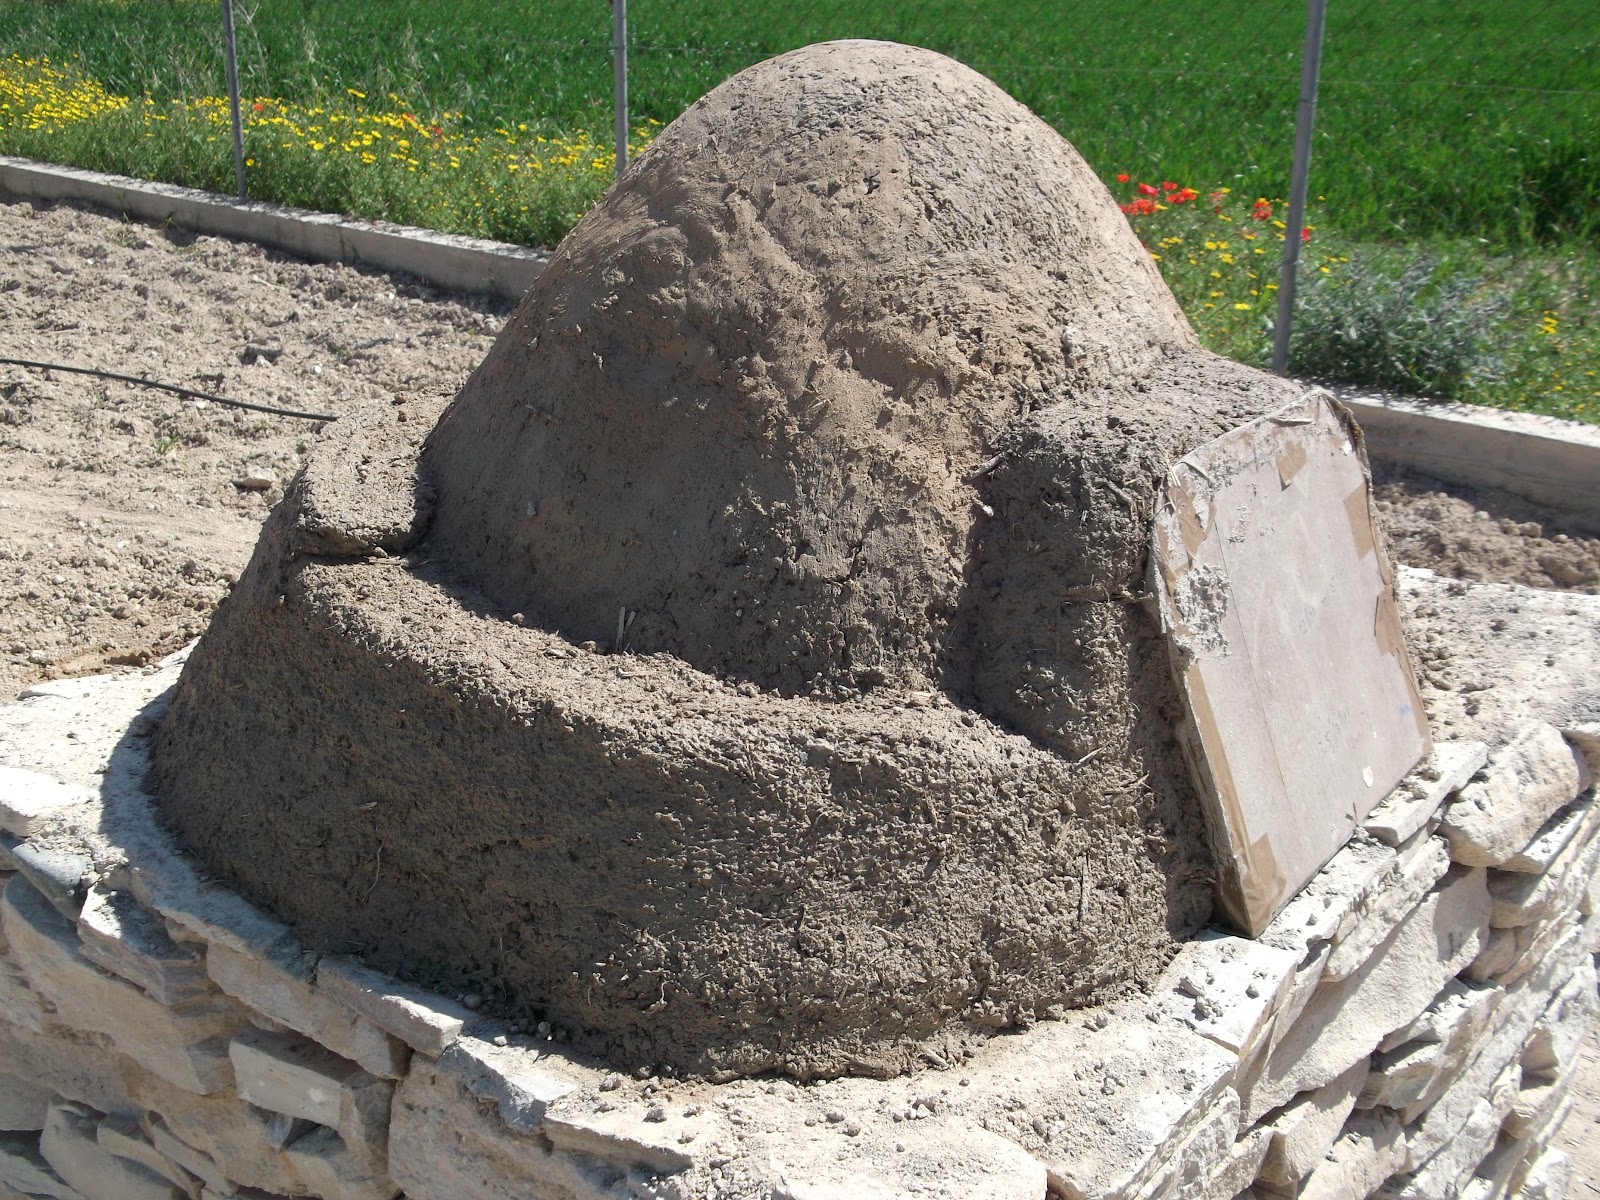
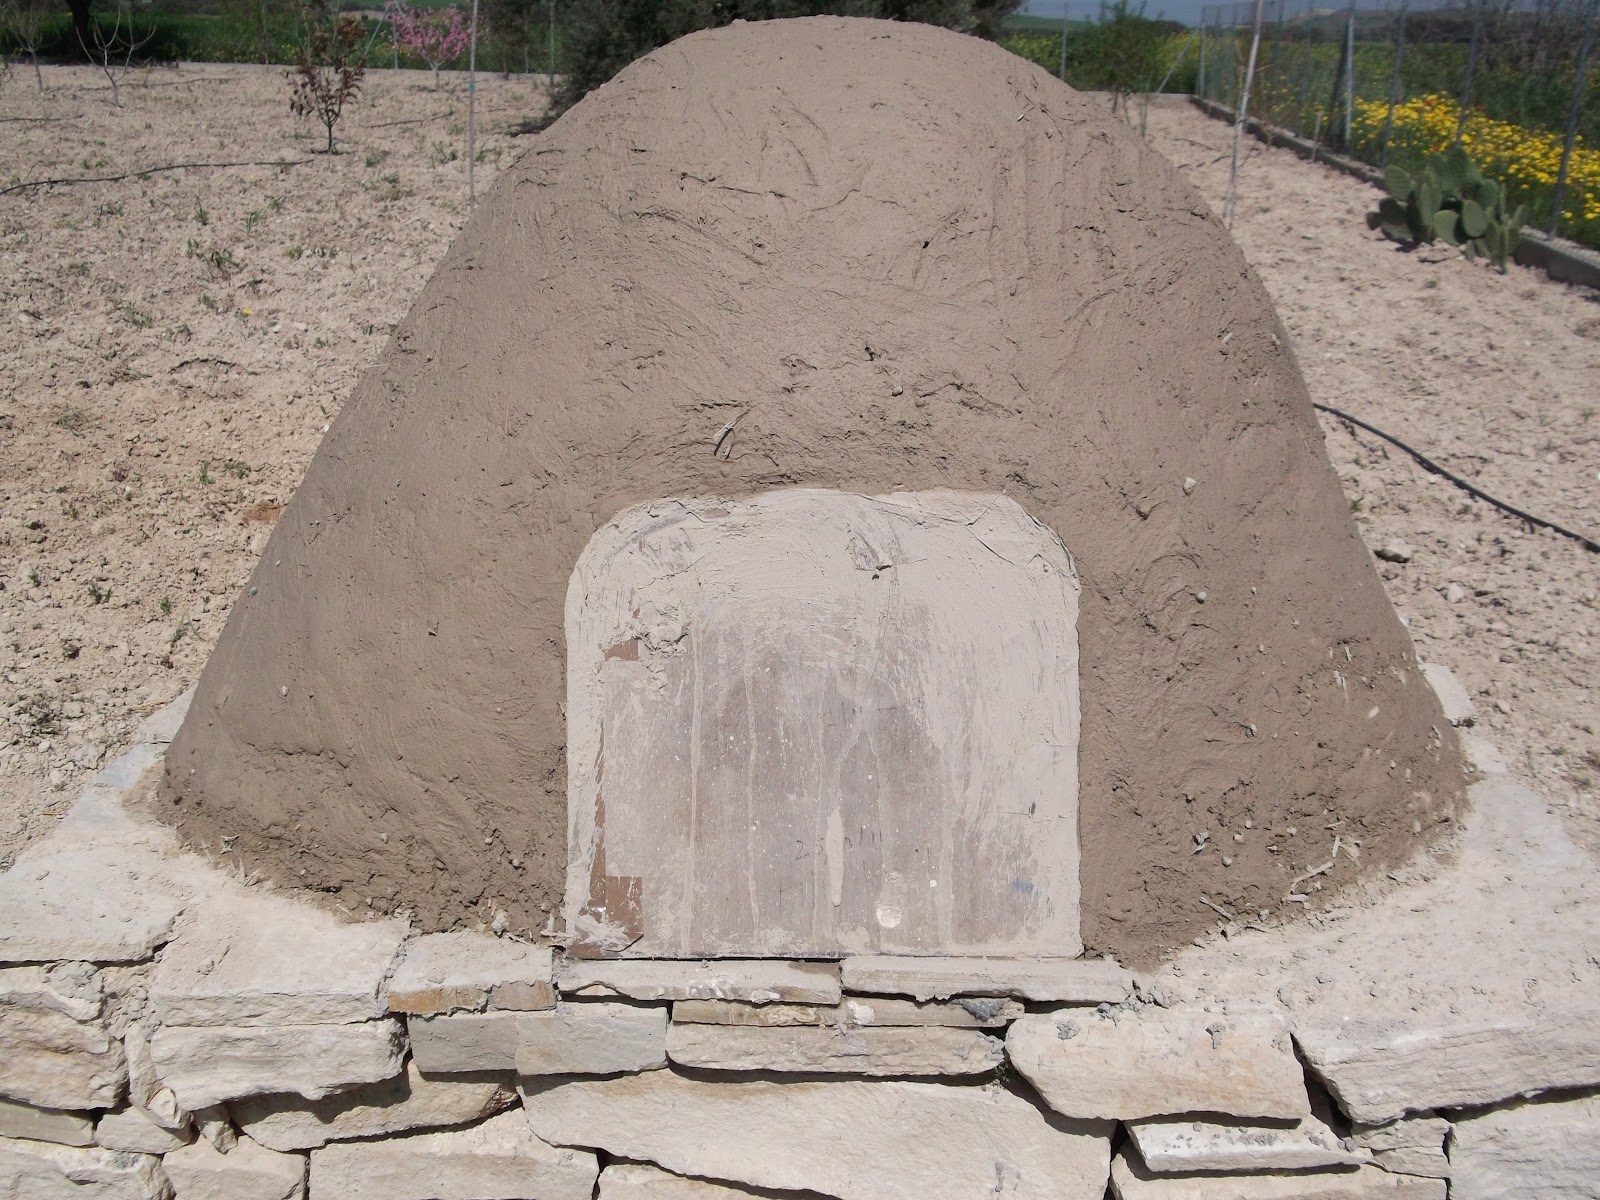
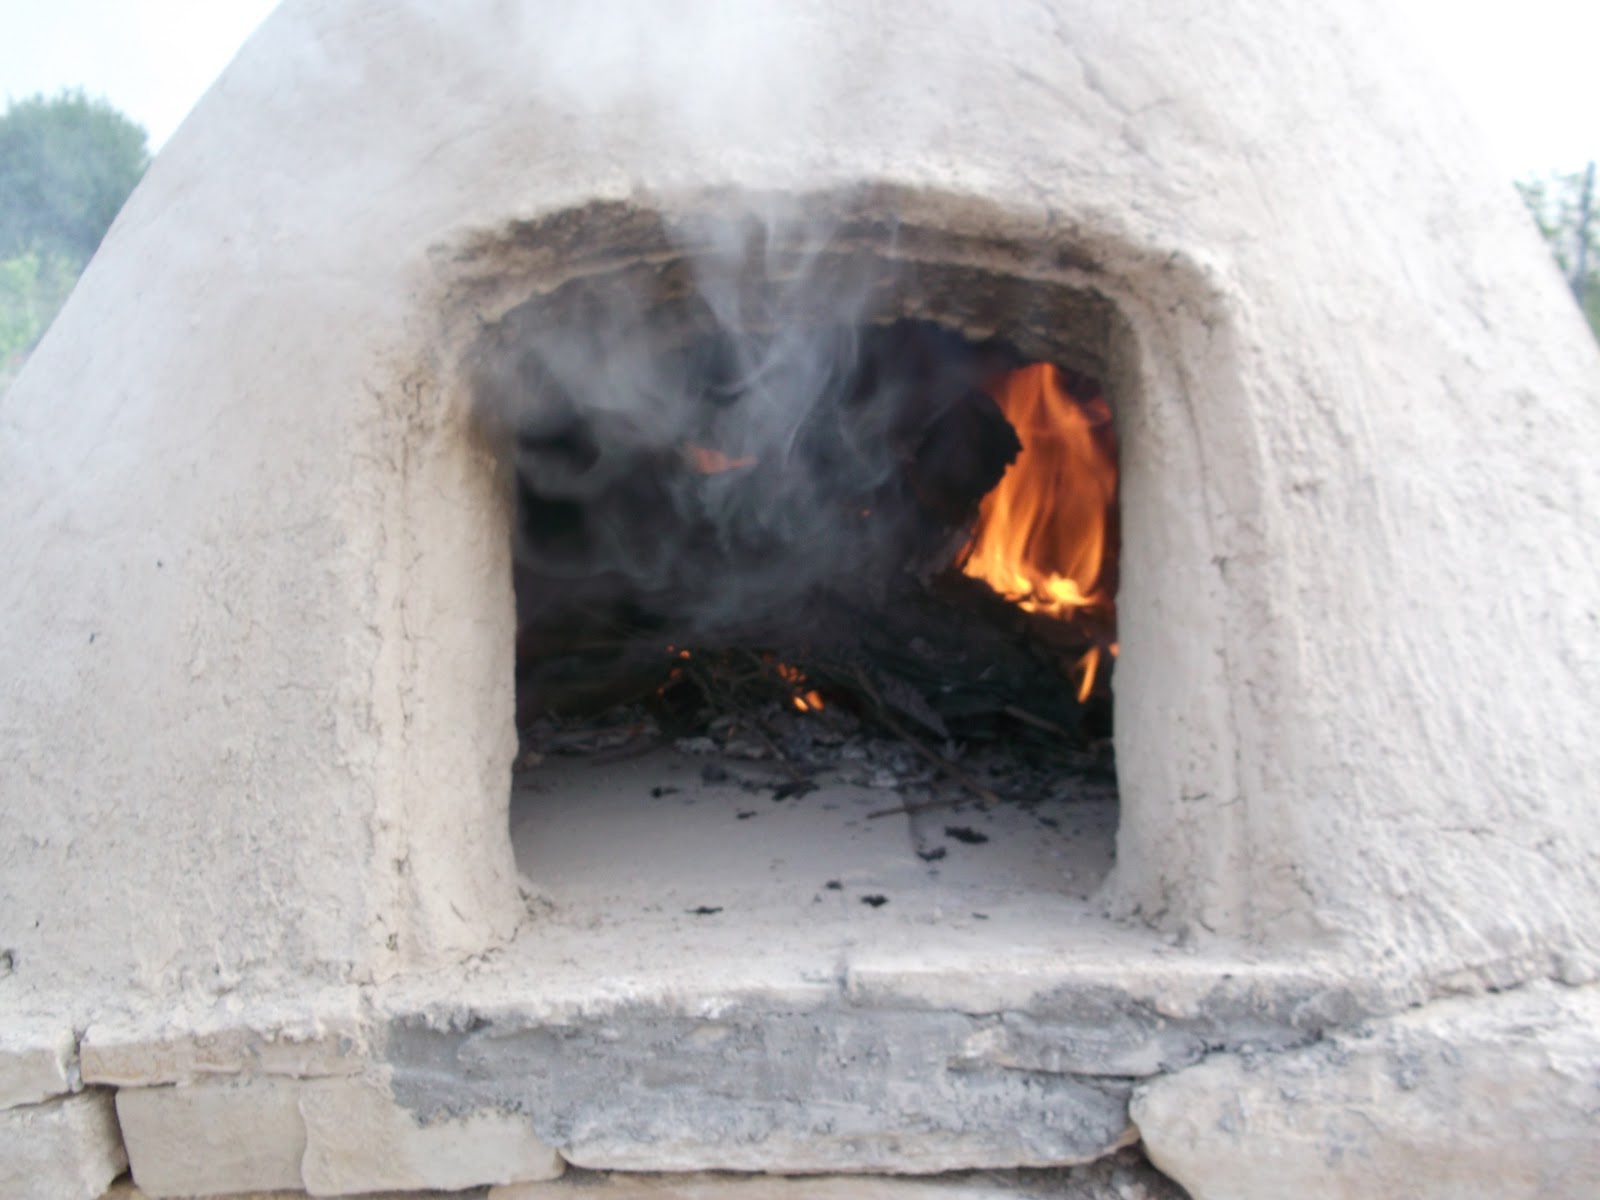
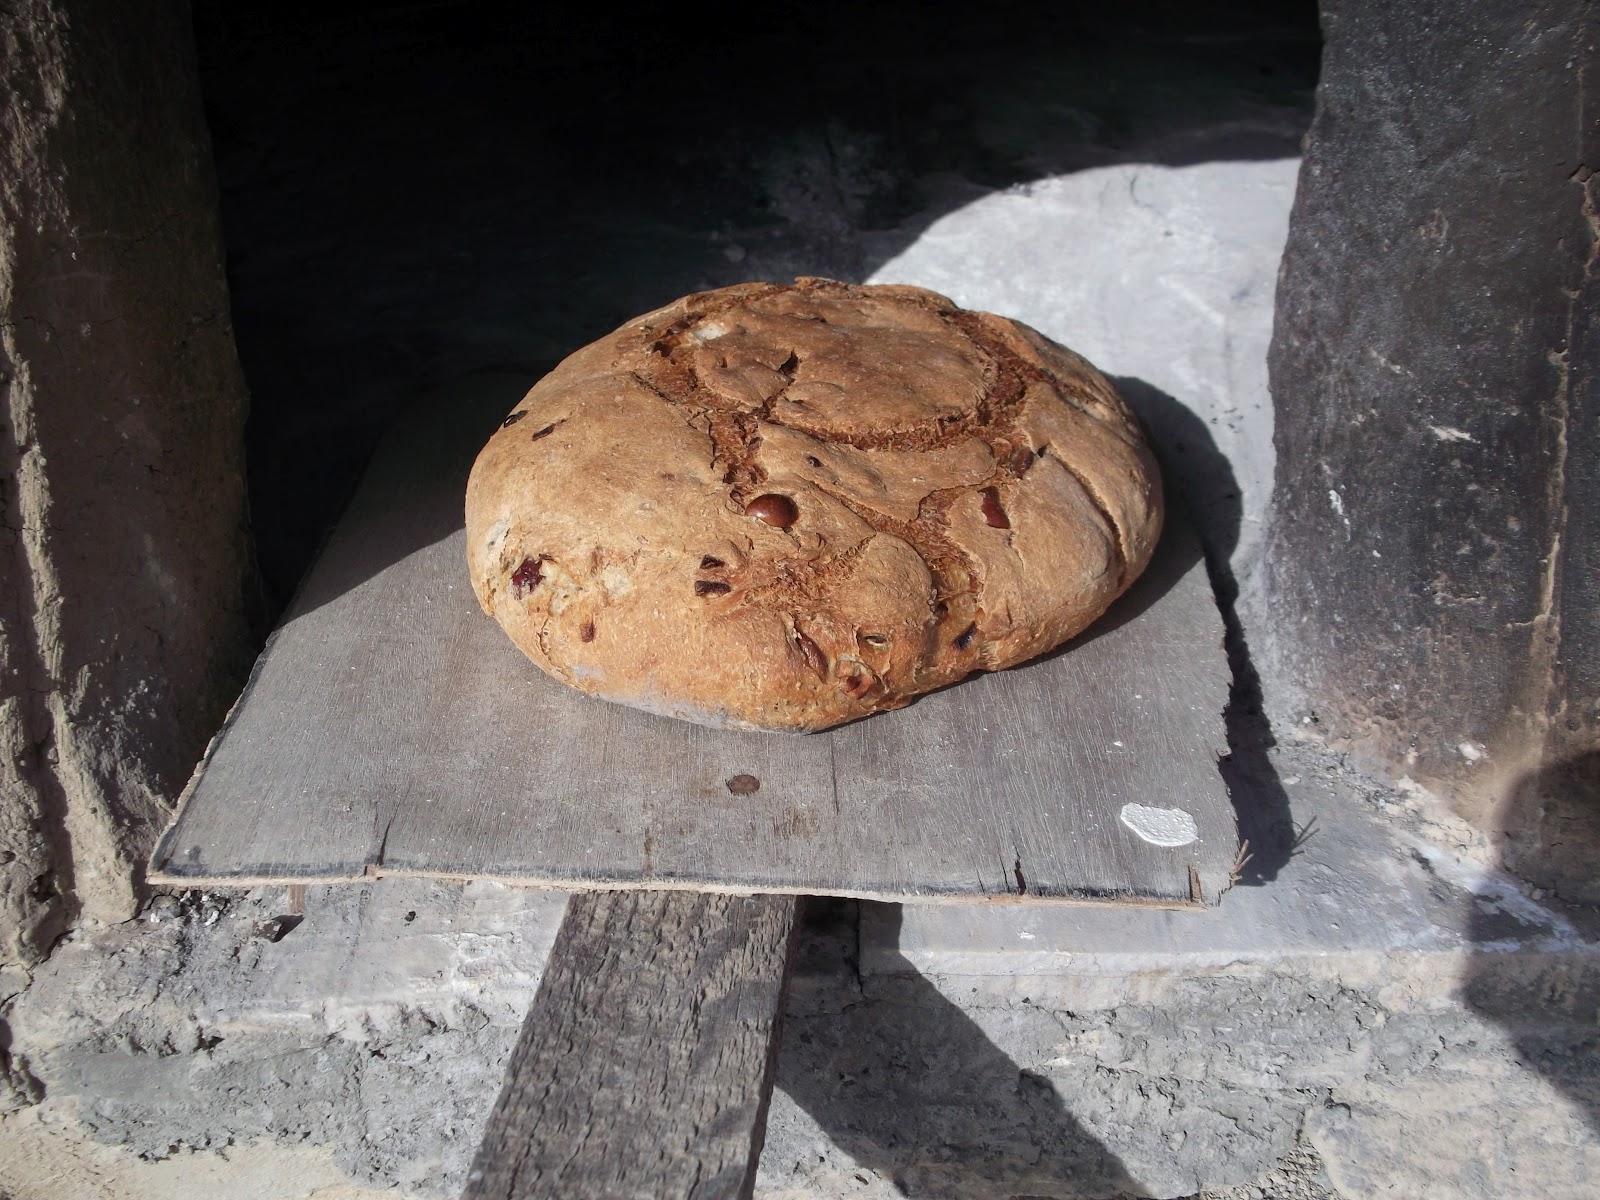
Koulouri is a traditional Cypriot circular bread, with a hole in the middle, and is coated with sesame seeds. Cypriot koulouri tends to have a crunchy or even hard coating, in comparison to similar breads in the region which are often softer. There are many different village recipes and in various combinations some may also include cumin, anise, fennel or caraway seeds. Cypriot bread was, and in some cases still is, traditionally made using a sourdough starter and baked in an earth oven. Cyprus has for centuries had a reputation for it's bread making, as the ancient writer Ebulus wrote in the Middle Ages, "Tis a hard thing, beholding Cyprian loaves, to ride carelessly by, for like a magnet, they do attract the hungry passengers".

Have a try at making your own koulouri, using the following basic recipe which can be baked in a kitchen oven and you will enjoy the aroma that will fill your kitchen.

Ingredients:

150g sourdough starter or 1.5 Tbs of dried yeast
850 grams of flour
2 tsp salt
2 Tbs of crushed anise seeds
3 Tbs of sugar
1-2 cups of water
50 ml of olive oil
250g-350g sesame seeds

Method

If using dried yeast this needs to be activated as per the instructions.

Sift 850 grams of flour into a bowl and add the salt. Make a well in the center and add the sugar, anise seeds, olive oil and sourdough or activated yeast. Mix in well, start kneading by continually adding sufficient warm water to form a dough. You may need to add a bit more flour to get your dough to the right consistency.

Place the dough in a bowl, cover with a cloth and leave until it has doubled in size. This, depending on the temperature, will take from between one to two hours.

Re-knead for another 5 minutes. Divide the dough into 15-20 or so portions and roll them into thin sausage shape, about 35 cm in length. Dip these in warmish water and roll them in sesame seeds before pressing the 2 ends firmly together to form a ring.

Preheat the oven to 220C, lay the sesame rings on a baking sheet and bake for 20-25 minutes, until golden brown on the outside.

Your koulouri can be enjoyed either warm or cold and in Cyprus is traditionally accompanied by olives and halloumi or hellim cheese.

Thursday 17 May 2012

Collecting poppy seeds

One of our vegetable beds has been covered in poppies this year. Rather than dig these up, we have let them ripen to collect the poppy seeds which we use when bread or roll making to add a crunchy and nutty flavour.

The seeds are ready for collection when the head turns from green to brown to signify the seed head has dried. We have previously collected seed by shaking each individual head into a jar but this is very time consuming.

This time we cut off the heads and collected them in a bowl. Placed the heads on a tea towel, crushed them with a rolling pin to release the poppy seeds and sieved them to remove any bits of husk. The process worked quite well, using a large holed sieve and then one with a much smaller gauged holes to remove smaller bits of husk. Any collected poppy seeds should be stored in a sterilised airtight jar in the fridge and used within 6 months.

Poppy seeds are tiny and 600g contains about 1 million seeds but the seeds are rich in minerals which include iron and calcium. These seeds have been used for centuries for their medicinal value and are used in cough syrup preparations and to treat insomnia.

People often worry about using poppy seeds because of their narcotic properties but ripe poppy seeds only contain minute amounts, hardly traceable, of morphine and codeine.

Indoor gardening - Sprouting Seeds, Cress & Mustard

Growing cress or mustard and sprouting seeds or pulses in the kitchen could not be any easier and the outcome is a lovely and very nutritious addition to salads, sandwiches, soups or omelettes.

The seeds are relatively cheap to purchase but we have found they are even cheaper if you buy in bulk (E-Bay - 8000 cress seeds for 99p) or even sprout organic pulses purchased from health food shops.

Sprouting is simply the process of germinating seeds and there are many suitable to choose from - alfalfa,  soya bean (which are sold as bean spouts), fenugreek, aduki or mung beans, rocket and onion - just to name a few.

We have found the best container to use for sprouting is a wide mouthed large glass jar which can be covered easily with a cloth and secured with an elastic band. Place you seeds in the jar, normally about one tablespoon is enough, and clean the seeds by rinsing in water. After rinsing, seeds are left to soak in warmish water and depending on the type of seed this can take from 20 minutes to 12 hours. After soaking, rinse again and pour out, whilst swilling the seeds around, as much water as possible to ensure the seeds are not too wet.

After soaking, which increases the seeds water content, they left somewhere at a temperature of between 13-21°C to germinate. Seeds will begin germinating within a day or two and have to be rinsed, depending on the seed used, between 2-4 times a day to keep them moist but not soggy. Depending on which seed is used, after 3-5 days they will have grown to 5-8 cms in length and will be ready to eat.

Growing cress or mustard (or both together) is an even easier process. Simply place some kitchen towel in the bottom of any suitable container such a shallow bowl or saucer (or a good use for those disposal plastic containers) and dampen the paper towel with water. Sprinkle seeds all over the surface and place somewhere warm but not in direct sunlight. Everyday just add a bit more water to keep paper and the seeds moist but not too wet and your cress will germinate in 2-3 days. The cress or mustard is ready to use when it's 8-10 cm tall after about 5-7 days. For continual supply, start a batch once a week.

Wednesday 16 May 2012

Mosquito Season in Cyprus

The mosquito season begins  in Cyprus at the end of May and usually lasts until the evenings turn chillier towards the end of October.

We had fly screens installed on all our windows and doors during construction, a lesson we learnt whilst living in Australia for a period in the 1980's, which keeps out flies, moths and wasps mosquitoes seem to find a way in.

There are apparently 33 species of mosquitoes resident in Cyprus which range from quite large ones to a tiny and lightly coloured species. We seem to have more of the tiny ones which are difficult to see against our cream walls but we do manage to vacuum up a significant numbers every morning from their favourite haunts which keeps the numbers down.

Every night before we go to bed, we plug in the spiral mat heater, which has tablet inserts, which give off a strong odour but it's preferable to being bitten and we have got used to the smell. These devices are available in most supermarkets along with replacement tablets. 


We leave our bedroom windows open, to cool us, and it does reduce the strength of the odour but still deters the mosquitoes. We have also started making our own repellent from one part disinfectant and four parts baby oil which we use on our arms, shoulders and faces, which are the only body parts the mosquitoes can get to unless they find a way under the bed sheet. 

The trouble is that even one mosquito buzzing around your ears is enough to keep you awake until you can find it and vacuum it up or swat it. Thankfully, malaria was eradicated in the 1950's from Cyprus so bites are not dangerous.

We seem to get most bites whilst relaxing in the evening. The trouble is you don't feel the bites until you feel itchiness and see the red lump and by this stage the mosquitoes are usually nowhere to be seen. We have found that applying vinegar to the bitten area seems to provide instant relief and is very soothing.

Apparently mosquitoes breed in standing water, so we make sure we don't leave any puddles close to the house but whatever we do some bites are unavoidable and are part and parcel of living in the Mediterranean

Tuesday 15 May 2012

Make your own sourdough

Sourdough is a rising agent used in baking which contains lactobaccilus culture or in other words which is made using airborne wild yeast bacteria to form a starter. Sourdough is used for in baking rather than use of a commercially produced yeast.


Bread in Cyprus was for generations made using sourdough in earth ovens. Apparently use of sourdough makes baked goods have a distinctive flavour, bread has more air bubbles and baked goods will last longer before going stale.


Sourdough is surprisingly easy to make by putting a few tablespoons of organic flour in a jar and stirring in enough warm water to make a thickish paste. The mixture is then covered and placed somewhere warm but not too hot to develop. The mixture may take up to a week to form sourdough and all you need to do is just stir it occasionally. Eventually, little bubbles will form throughout the mixture and your sourdough will be live. 


Once you have successfully made some sourdough. feeding it will keep it alive. Stir the sourdough, then add enough flour and water to double the volume and place it in the fridge. Cooling the sourdough will slow the rate at which the yeast consumes food. Every time it stops bubbling, feed it again and if you find that your sourdough is getting too much either use some or reduce it's volume. If the jar looks a bit unsightly change it and your sourdough will stay alive for years.


Happy baking. Off to start a sourdough batch now.

Tuesday 8 May 2012

Stuffed Globe Artichoke Hearts

We have had a very good crop of globe artichokes this year and there are still plenty of artichokes on the plants. We have been looking for new recipes to try and today adapted and tried a stuffed artichoke heart recipe. We cut and cleaned 20 artichokes this afternoon in readiness which we kept in lemon juice to stop blackening,

The outcome was delicious and it produced a lovely aroma whilst cooking. If you would like to try our recipe it's as follows.

Ingredients: 20 globe artichokes cleaned to leave the hearts, 250g of minced beef, olive oil, 1 chopped onion and 3 chopped garlic cloves, 4 Tbs of rice, a sprig of coriander, 4 finely chopped tomatoes, a quarter tsp of curry powder, paprika, ginger and cinnamon and salt and pepper to taste.

Method:

(1) Cook the rice for 10 minutes in a cup of salted water
(2) Fry the onion and garlic in olive oil for 5 minutes
(3) Add the beef mince to the onions and garlic and cook for 15 minutes or until browned
(4) Add all the spices and salt and pepper to taste to the beef mixture
(5) Add the part cooked rice and chopped parsley into the beef mixture
(6) In a large bottomed pan, pour in a cup of water and add a dash of olive oil and salt
(7) Stuff the hearts with the mixture and place in the pan.
(8) If any mixture remains add on top of the hearts and place the chopped tomatoes on top
(9) Cook for 30-35 minutes until the hearts are tender

Wednesday 2 May 2012

Globe Artichokes


One of the culinary delights at this time of year is the abundance of globe artichokes (cynara cardunculus) which is a thistle headed perennial plant.

Globe artichokes are best planted from offsets in November and you can expect to harvest 10-12 heads per plant between April and June. Ours are now in the second productive season and we have a glut of them. We have been busy cleaning and freezing artichoke hearts for use in cooking with broad beans or to use in many other recipes. The heart comprises of the fleshy base which is delicious raw and the mass of the artichoke, called the "choke", is inedible. 

Globe artichokes are a good source of potassium, vitamin C, folate, magnesium and dietary fibre. 
Studies have shown that artichokes contain a very high amount of antioxidants in the form of phytonutrients. Among the most powerful phytonutrients are cynarin and silymarin, which have strong positive effects on the liver and help to detoxify harmful chemicals from the body.


Recent studies have also revealed that globe artichokes help with digestive troubles, irritable bowel syndrome and in lowering high blood pressure. 

When artichokes are in season, find as many recipes as possible to include them in your diet. 

Pea and Mint Soup

We have have had a very good crop of peas and broad beans and have spent the last four days podding. We have blanched and frozen quite a lot of  peas and broad beans and are also sun drying some for winter soups and stews.

Having finished podding today, what a better lunch could we have than a pea and mint soup. Try our recipe for a quick and delicious soup.

Ingredients: a finely chopped onion and one garlic clove, olive oil for frying, 3 cups of peas, a cup of fresh mint or 50g of dried mint, 750ml of vegetable stock and salt and pepper to taste.

Preparation: (1) fry the onion and garlic until soft (2) add the peas, mint, vegetable stock and slat and pepper to taste (3) cook for 15 minutes, blend and cook for a further 5 minutes.

Serve with some crusty bread

Gardening in Cyprus - Jobs for May

May feels much warmer as summer is on the way. The sun shines nearly every day and the temperatures average a minimum of around 10c to 20c and a maximum of between 22-28c but there can sometimes be a heatwave with temperatures soaring to 32c. There can still be the odd rainy day, often a heavy thunderstorm, but these don't tend to last more than a couple of hours, after which the sun shines once again. 

Locals still tend to wear long trousers but the sweatshirts are removed for t-shirts. There is plenty to do in the garden to keep gardeners busy during the month.

Plant annuals, perennials and shrubs – including climbers.

Deadhead annuals and perennials to stimulate continuous flowering.

Keep the roots of fruit trees damp to ensure that forming fruit swells

Spray fruit to prevent problems with such things as leaf curl and fruit moths using appropriate organic sprays.

Weed strawberry beds and harvest the fruit as it ripens.

Plant out watermelon and melon plants and if not already done plant out marrows.

Plant out cucumber plants

Cover soft fruits with netting before they ripen – these are the only fruit other than grapes that we lose to birds if not protected.

Prune out lower growth on grape vines.

Plant out tomato plants.

Plant out peanuts (monkey nuts)

Sow leeks

Plant out sunflowers

Sow summer purslane

Sow rocket and salad leaves

Sow onion seeds

Sow butter beans and chickpeas

Happy gardening for the month and if you require any further advice or information go to 
http://sites.google.com/site/cyprusgardener/home